Gettings Started
Here you will setup an example environment that you can utilize in the other tutorials.
Install ROS (Noetic or One)
MuJoCo currently is supported for ROS Noetic running on Ubuntu Focal (20.04) and for ROS One running on Ubuntu Jammy (22.04). At this time we don’t guarantee compatibility with other systems, though you still might be able to compile and run on a differing configuration.
Tip
How to install ROS One on Jammy: https://ros.packages.techfak.net/
Hint
We are working on a version supporting ROS 2!
Once you have ROS installed, make sure you have the most up to date packages:
sudo rosdep init
rosdep update
sudo apt update
sudo apt upgrade
Install catkin commandline tools for configuration and building of workspaces:
sudo apt install python3-catkin-tools
Create a catkin workspace and install MuJoCo
Create a new directory which will become your main workspace
mkdir -p ~/mujoco_ws/src
Source the base ROS distribution
source /opt/ros/noetic/setup.bash
Configure the previously created directory to be a catkin workspace
cd ~/mujoco_ws
catkin init && catkin config --install
Download a compatible MuJoCo release or clone the source repository with the corresponding tag. The current MuJoCo ROS build on our main branch (‘noetic-devel’) requires MuJoCo 2.3.6.
Attention
if you are using colcon, don’t run catkin init
If you choose to build from source, clone and build MuJoCo with the following commands:
git clone https://github.com/deepmind/mujoco $HOME/mujoco -b 2.3.6 --depth 1
mkdir ~/mujoco/build
cd ~/mujoco/build
cmake .. -DMUJOCO_BUILD_SIMULATE=OFF -DMUJOCO_BUILD_EXAMPLES=OFF -DCMAKE_INSTALL_PREFIX=$HOME/mujoco_ws/install -DCMAKE_BUILD_TYPE=Release
Note
You can change the build type to Debug or RelWithDebInfo for debugging purposes.
Download and Build the MuJoCo ROS Source Code
Move into your workspace and pull the code from GitHub:
cd ~/mujoco_ws/src
git clone https://github.com/uni-agni/mujoco_ros_pkgs -b noetic-devel --depth 1
Warning
MuJoCo ROS enables you to restart or (re)load models at runtime, which also resets the simulated time to 0. By default this is not fully supported by the ROS ecosystem and will result in e.g. action servers ignoring goals until the simulation time reaches the value of the reset (until this PR is merged)
To make action servers behave nicely with time resets, optionally add a forked actionlib version to your workspace:
cd ~/mujoco_ws/src
git clone https://github.com/rhaschke/actionlib -b noetic-devel --depth 1
The following command will install any package dependencies not already present in your workspace:
cd ~/mujoco_ws
sudo apt update
rosdep install -r --from-paths src --ignore-src --rosdistro $ROS_DISTRO -y
Now that all dependencies are satisfied, we can move on an build the source code in the workspace:
If you are using catkin, run
catkin b
Otherwise, for colcon run
colcon build
Upon successful completion of the build, you should be able to source the built workspace and run a sample MuJoCo ROS server:
source ~/mujoco_ws/install/setup.bash
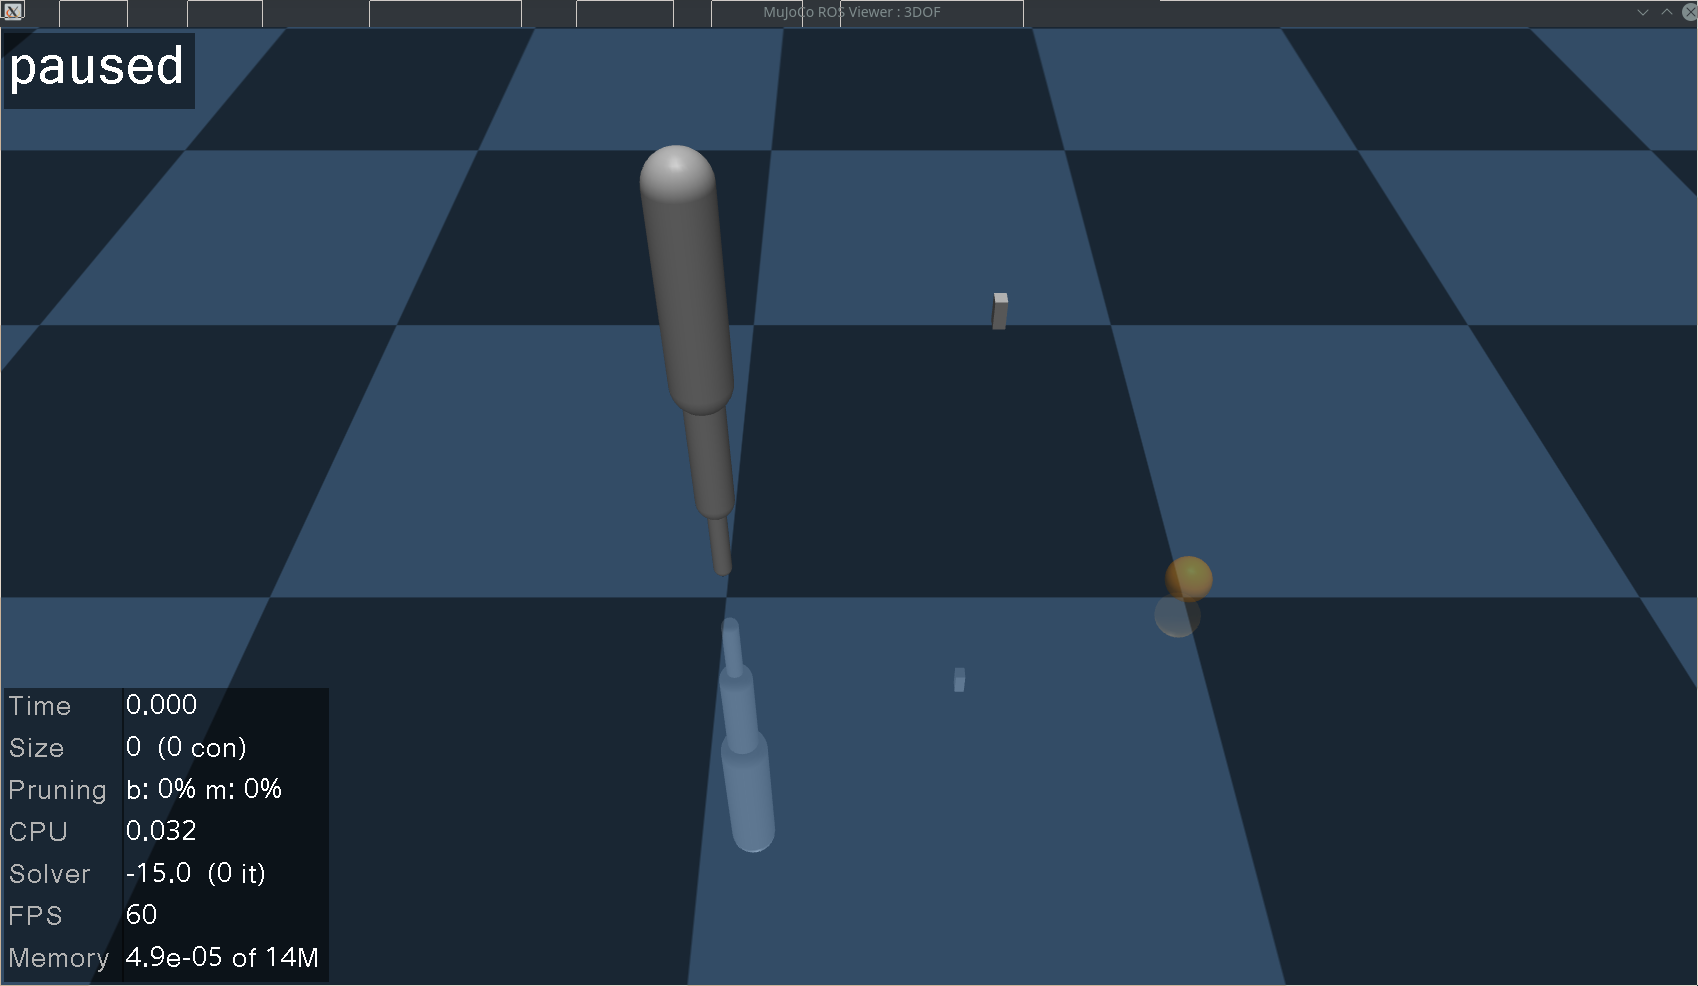
roslaunch mujoco_ros launch_server.launch use_sim_time:=true
A window displaying the default testing simulation scene like below should now have opened
Next Step
Next, we’ll learn how to load a custom model